Как действовать при отравлении закисью азота?
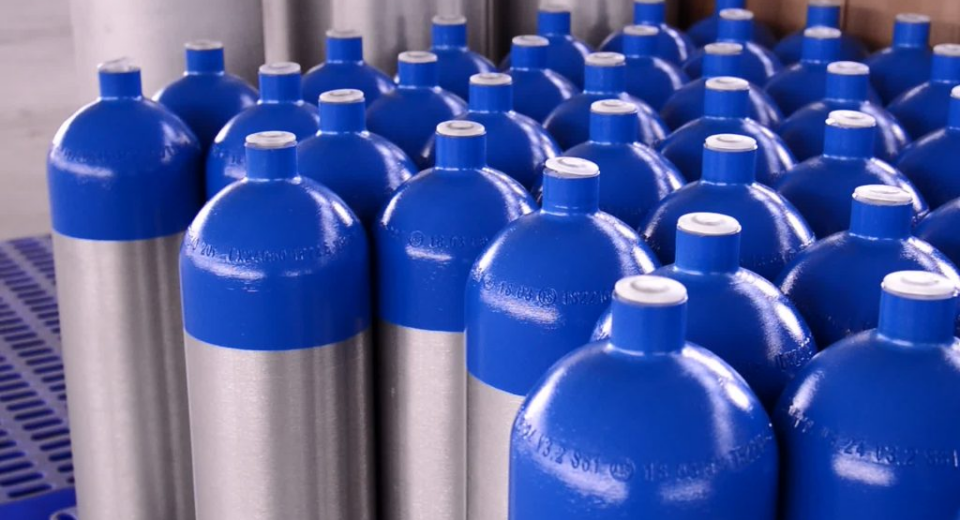
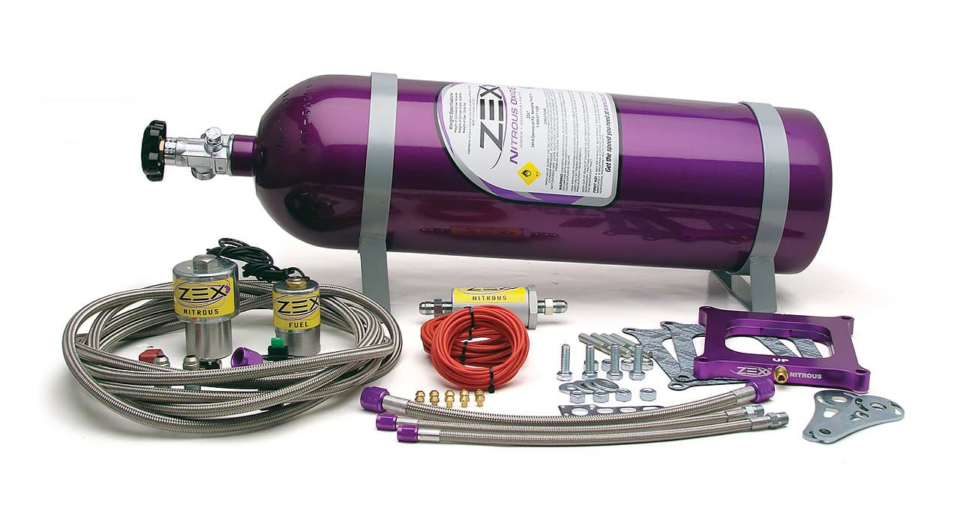
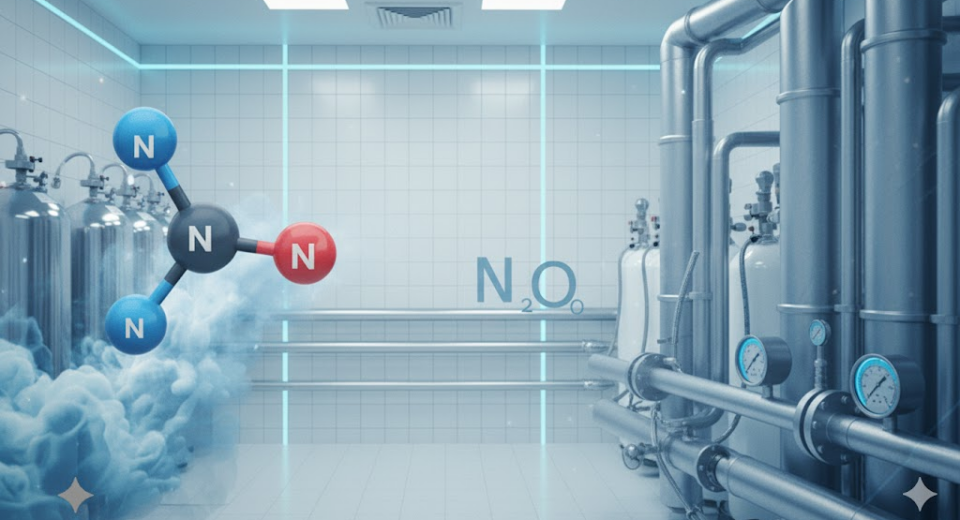
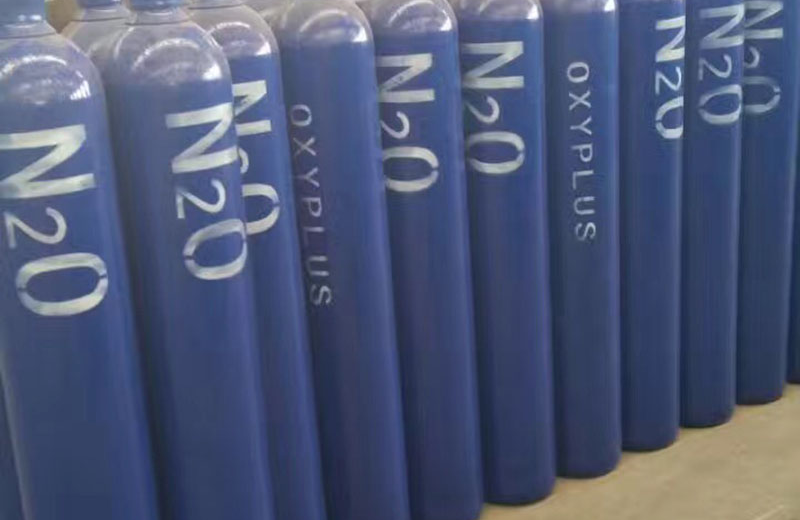
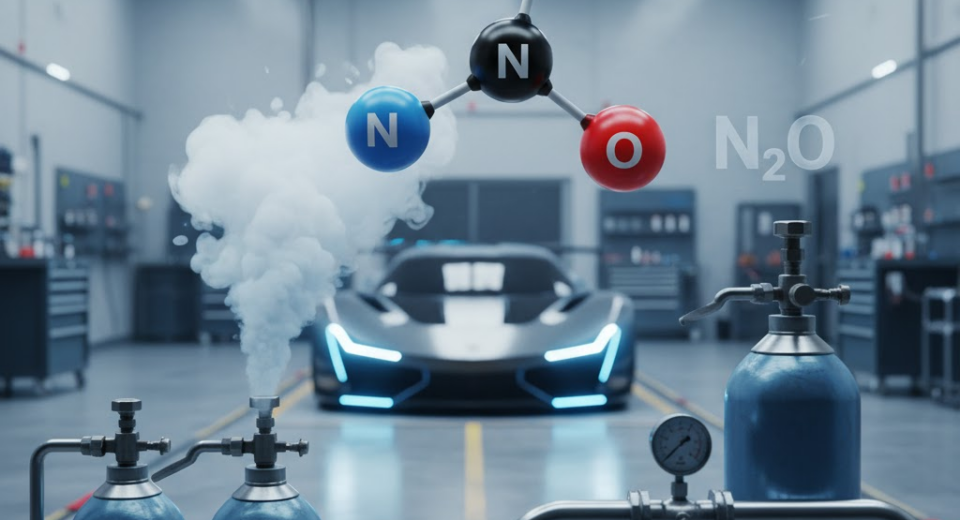
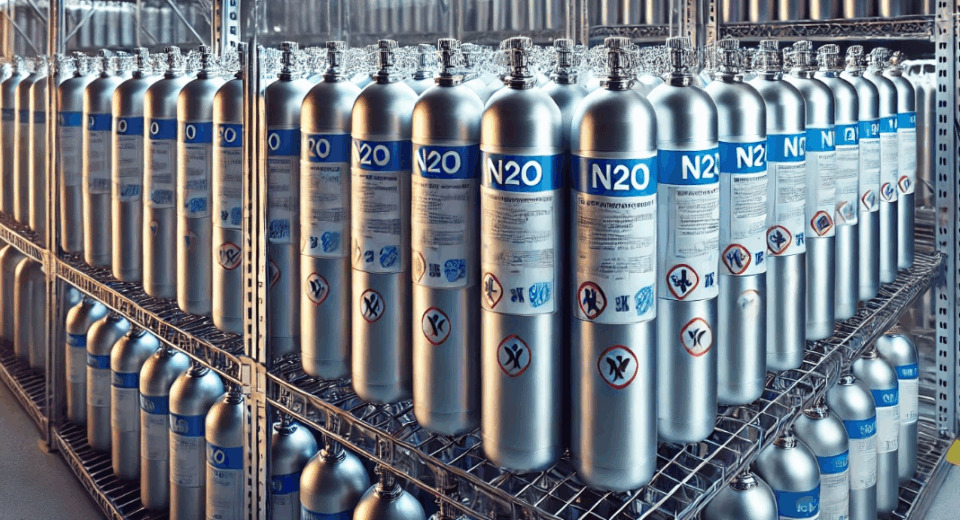
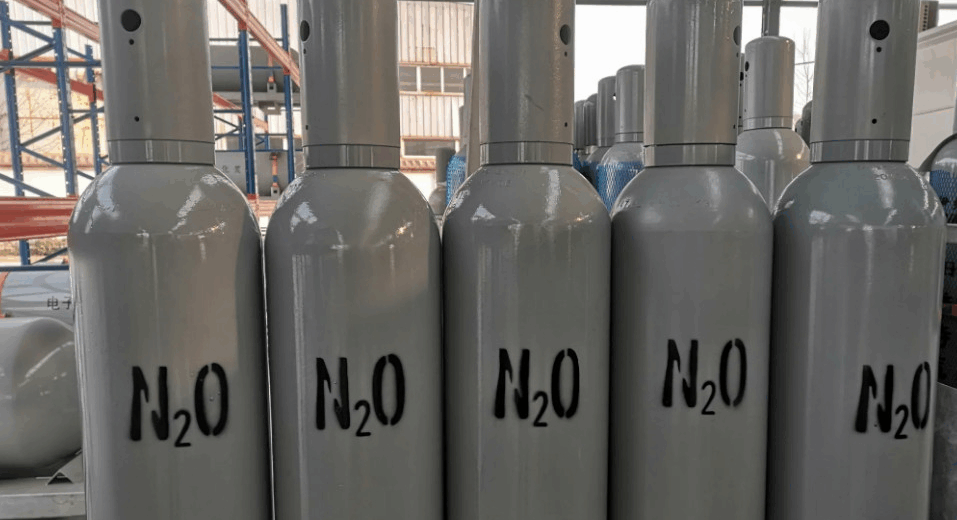
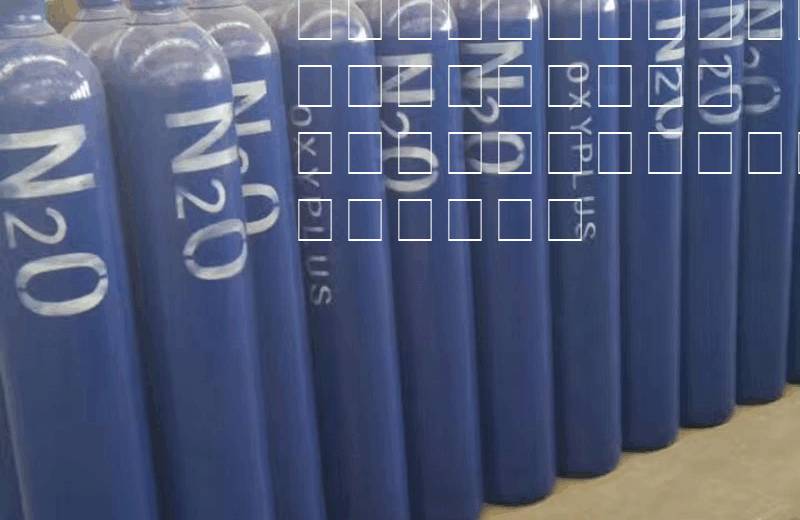
Как действовать при отравлении закисью азота? Закись азота, также известная как “веселящий газ”, используется в медицинских и развлекательных целях. Однако, при неосторожном обращении или злоупотреблении, она может вызвать серьезные последствия для здоровья. В этом статье мы рассмотрим, как действовать при отравлении закисью азота, чтобы минимизировать риски и обеспечить безопасность пострадавшего. Что такое закись азота? Закись […]